Build Ragdoll Physics: Choose an Engine
Start with a passive ragdoll: a small set of rigid bodies connected by constrained joints. Then decide whether your character also needs powered joints, player control, or a recovery animation. The implementation guide shows the engine-specific steps; the Roblox page includes a server-owned NPC example.
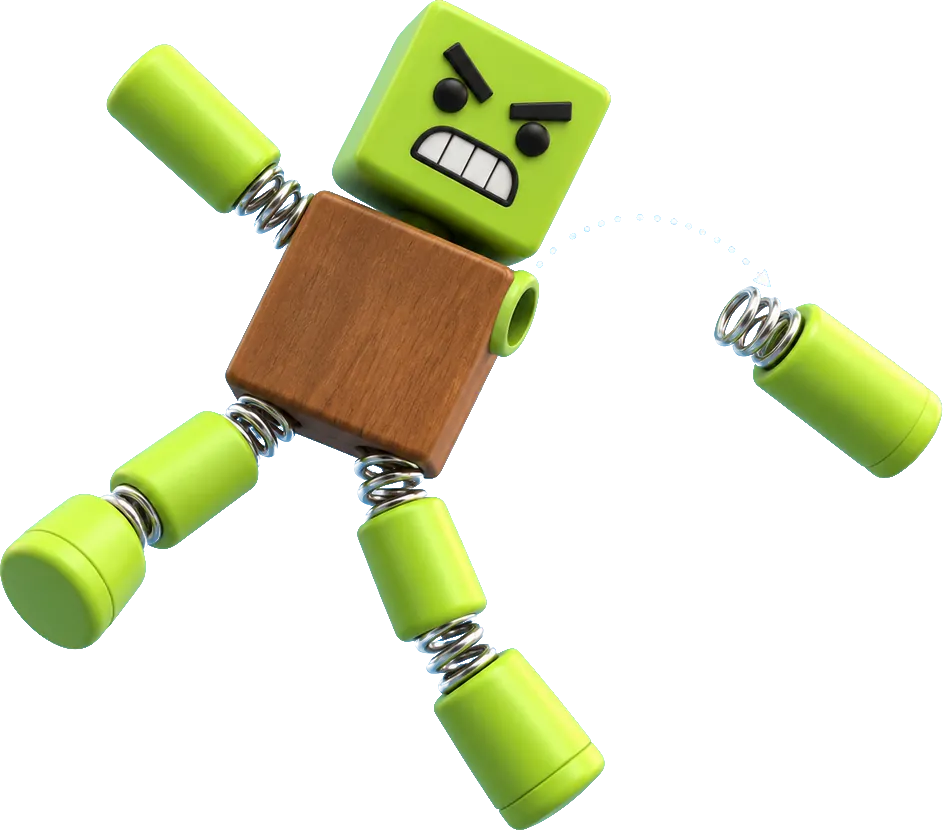
Choose the tutorial that matches your project
A game name is useful for finding a visual reference, but the implementation belongs to your engine. Euphoria is commercial animation middleware; choosing Unity or Godot does not give you Rockstar's Euphoria integration. For a practical first build, use the rigid-body and joint tools already present in your engine.
| Engine / environment | First working building block | Next step | Best fit |
|---|---|---|---|
| Unity | Ragdoll wizard creates body colliders, rigid bodies and joints | Switch Animator and Rigidbody.isKinematic, then investigate joint drives | A rigged character in a Unity project |
| Unreal Engine | Physics Asset with bodies and angular constraints | Physical Animation Component and an authored profile | A Skeletal Mesh using Unreal animation |
| Godot | PhysicalBoneSimulator3D with PhysicalBone3D children | Start / stop simulation; select a subset of bone names | A Skeleton3D character |
| Rapier Rust | Dynamic bodies, colliders, spherical or revolute joints | Add joint motors and animation targets if needed | A custom simulation or engine integration |
| Roblox Studio | Authored BallSocketConstraints paired with Motor6Ds | Server-owned NPC toggle; player input added separately | An experience you own |
| Blender | Rig and collision-shape authoring | Export skeleton and mesh to the game engine | Asset preparation or offline animation |
Define the smallest useful result
Choose one observable behavior before adding features: an NPC falls on a flat floor, one arm reacts to a hit, or a character can toggle between animation and physics. A death fall needs a passive setup; a character that fights to stay upright needs powered joints and a balance controller. Those are different amounts of work.
Keep a small build record alongside the rig: engine version, skeleton scale, the bone-to-body map, collision layers, root-body policy and joint axes. That record makes a broken elbow or a floating pelvis much easier to trace than an unlabeled package of settings.
Work through the implementation guide
The main guide separates the shared body-and-joint model from the APIs used by Unity, Unreal, Godot and Rapier. It includes compact code for a Unity handover, Godot simulation control and a Rapier shoulder connection, plus a symptom-to-cause table. The Roblox guide handles Humanoid state, network ownership and reversible Motor6D-to-constraint switching.
Official documentation is linked in Sources on each tutorial. Version labels describe the pages checked on 2 November 2026; a moving stable/current URL is a documentation track rather than a promise that every older project has the same menu layout.
Questions people actually ask
Which engine is easiest for a first ragdoll?
Use the engine that already contains your rig. Unity and Godot offer generated starting skeletons; Unreal uses a Physics Asset. Rapier exposes lower-level bodies and joints, so your integration supplies the character workflow.
Do I need an active ragdoll?
Use passive physics for a limp death or impact. Active control is useful when the character must retain an animated pose, resist a hit, or recover while physical contacts continue.
Can I copy a Roblox ragdoll script into another game?
The example is for your own Studio project. It uses public engine APIs and does not inject scripts into someone else's experience.
Keep going
Sources
- Unity: create a ragdoll — checked 2026-11-02
- Unreal Engine: Physics Asset Editor — checked 2026-11-02
- Godot: ragdoll system — checked 2026-11-02
- Rapier Rust: joints — checked 2026-11-02
- Roblox: network ownership — checked 2026-11-02